Photographs from the Pinchbeck Project
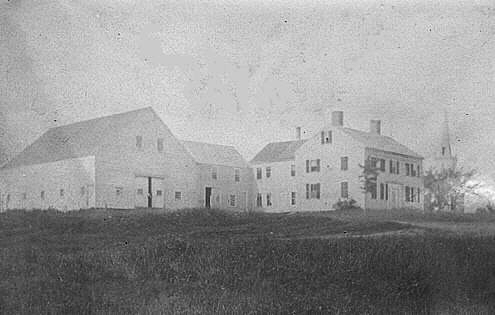 1 - Original house as constructed by Wade Sweetland.
This is an early photo.
1 - Original house as constructed by Wade Sweetland.
This is an early photo.
I'm guessing sometime around the turn of the century.
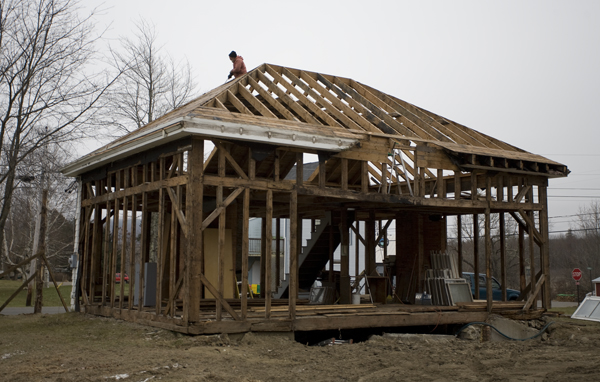
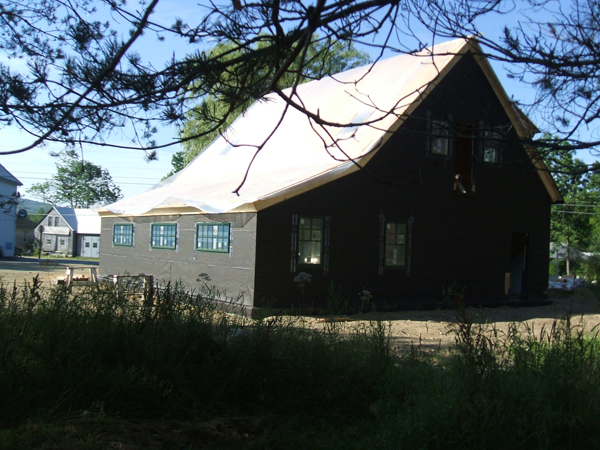
 Unnamed - The exterior of the house as it was 2011.
Note new roof. Ell's and roof burned in 1947.
Unnamed - The exterior of the house as it was 2011.
Note new roof. Ell's and roof burned in 1947.
 4 - Condition of basement just as we began deconstruction.
This was August - a very dry
4 - Condition of basement just as we began deconstruction.
This was August - a very dry
month - with 1 foot of water and rising after pump had been off for a couple
of days.
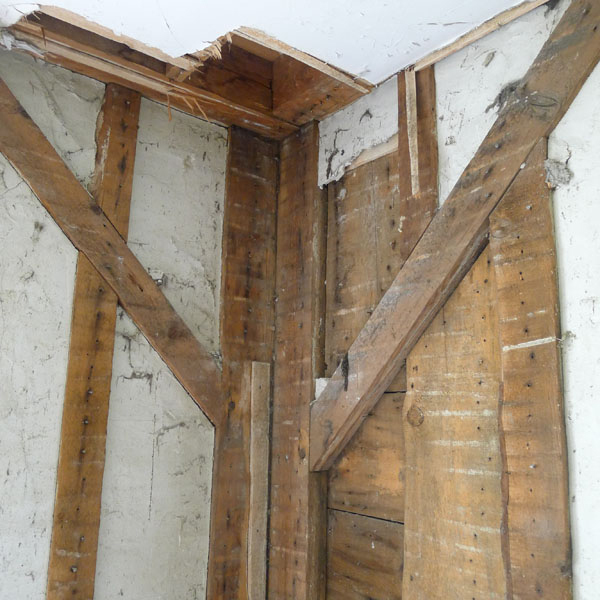 6a - A corner of the main room showing double lathe/plaster/boarding
board construction.
6a - A corner of the main room showing double lathe/plaster/boarding
board construction.
 6 - Rot on the corner working up from the sill.
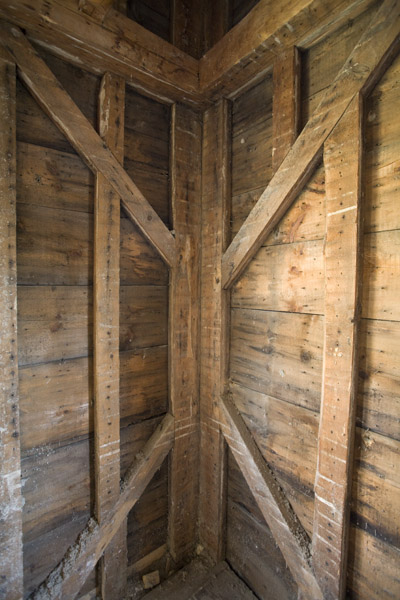 7 - Same corner as image 6a - now showing the unique
corner construction
7 - Same corner as image 6a - now showing the unique
corner construction
of the building. Done to hide any "timber" look within the house.
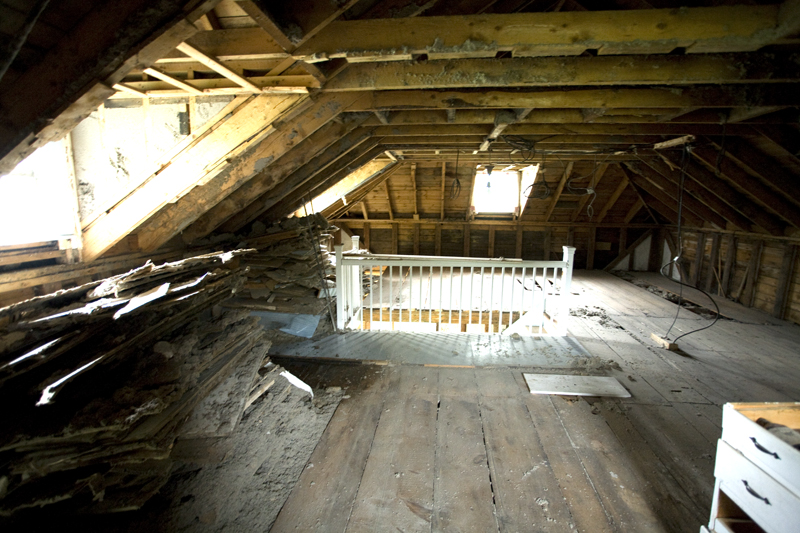 8 - Upstairs as deconstruction begins to open roof
areas.
8 - Upstairs as deconstruction begins to open roof
areas.
 9 - Downstairs almost fully gutted.
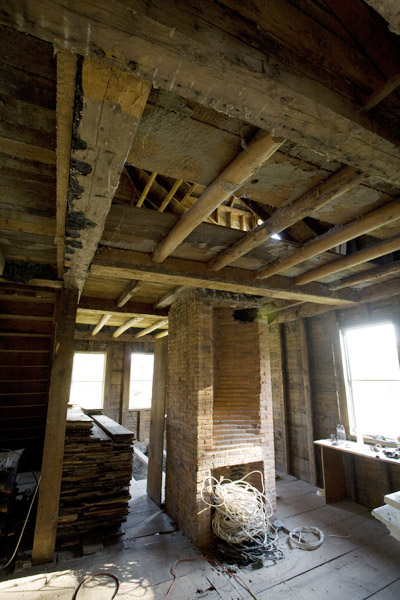 10 - Note fire damage on beams - as very unique
chimney construction.
10 - Note fire damage on beams - as very unique
chimney construction.
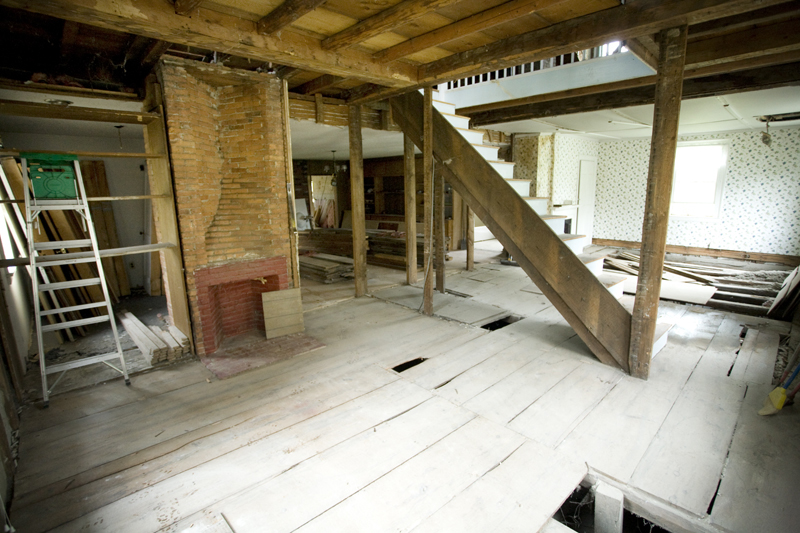 11 - Another view of chimney. There were two original
chimneys - fireboxes back to back on both floors for a total of 8 fire boxes.
11 - Another view of chimney. There were two original
chimneys - fireboxes back to back on both floors for a total of 8 fire boxes.
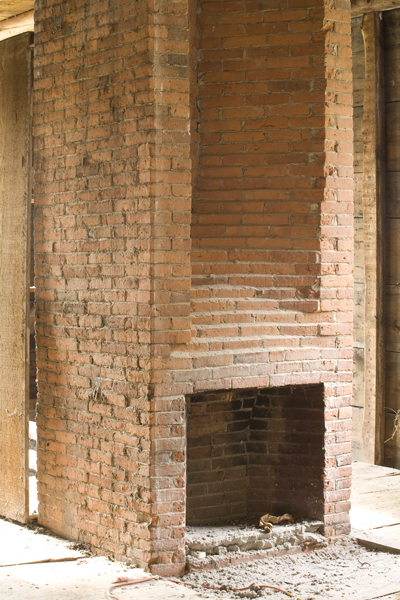 12 - Rumsford design fire box. Shallow to throw
more heat from the fire into the room verses
12 - Rumsford design fire box. Shallow to throw
more heat from the fire into the room verses
up the flue. The brick "helix" allows the flue to wend sideways
up to second floor. See image 13.
 13 - This is a cross section at the 2nd floor level.
At this spot, new 2nd floor fire boxes would have begun, back to
13 - This is a cross section at the 2nd floor level.
At this spot, new 2nd floor fire boxes would have begun, back to
back, with their flues finishing the journey straight up the chimney. We're
looking at the twisted 1st floor flues in order
to accommodate the 2nd floor fire boxes. So?the top of the chimney would
have had four triangular flues.
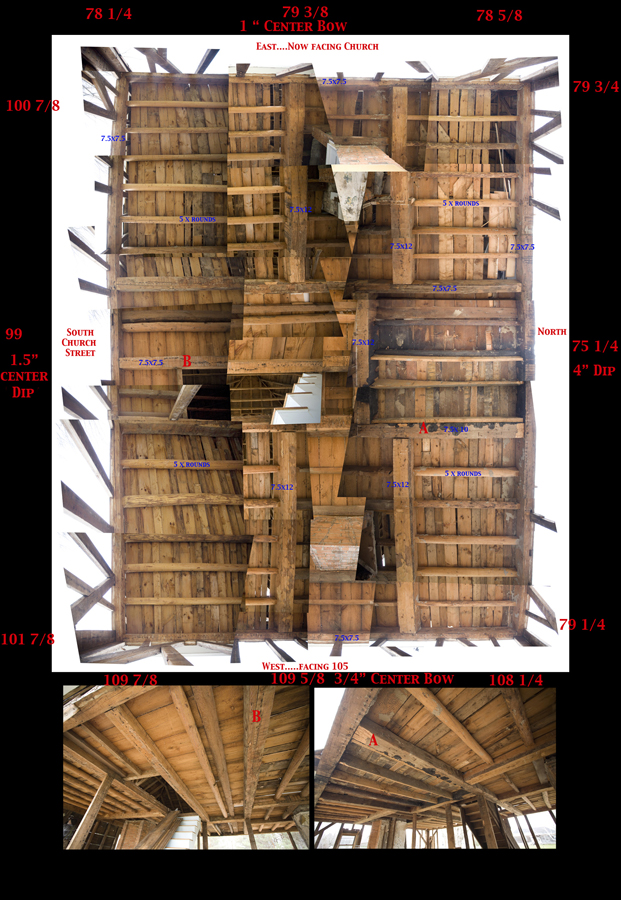 14a - A photographich "map" we used to
help in our re-assembly of the frame during the upcoming next season.
14a - A photographich "map" we used to
help in our re-assembly of the frame during the upcoming next season.
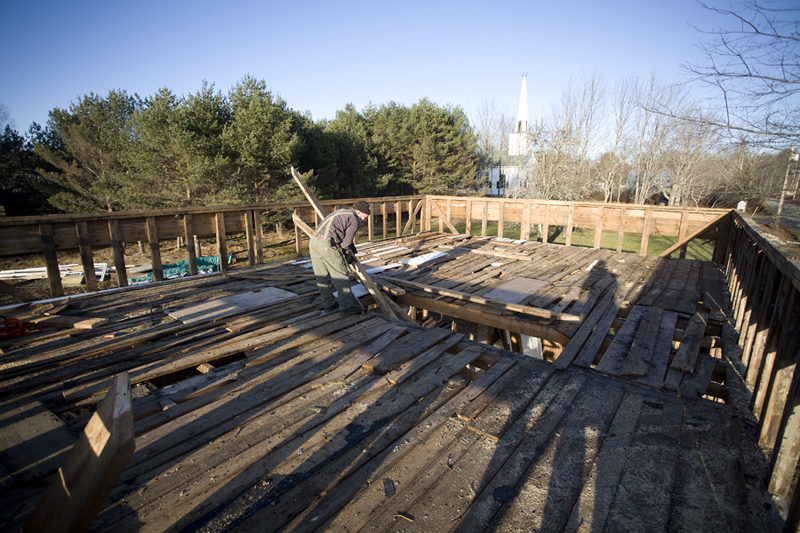
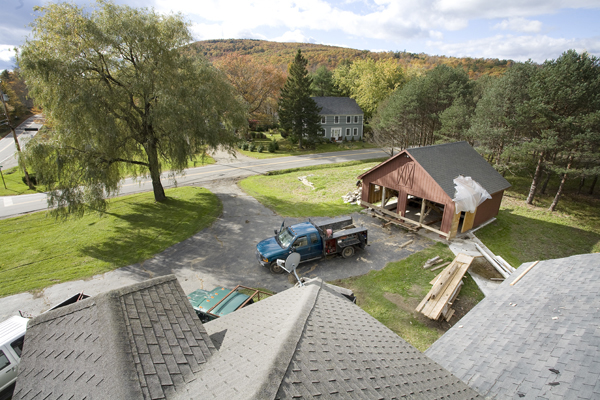 15 - View from the roof as the garage is being
prepped for move to new slab site on the adjoining lot.
15 - View from the roof as the garage is being
prepped for move to new slab site on the adjoining lot.
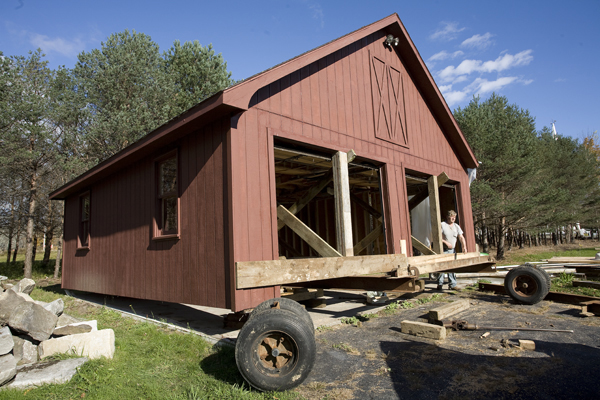 16 - Garage being lif
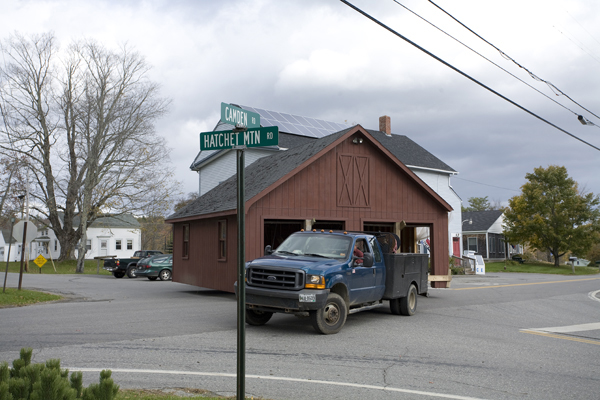 17 - Garage coming off Church Street - onto 105
north.
17 - Garage coming off Church Street - onto 105
north.
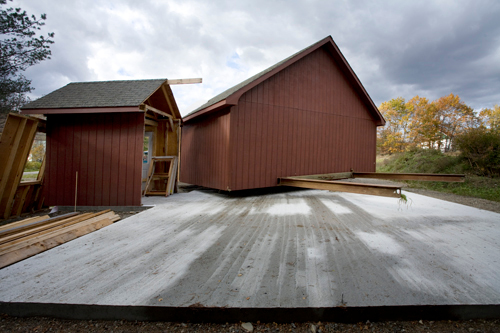 18 - Garage being backed onto new slab.
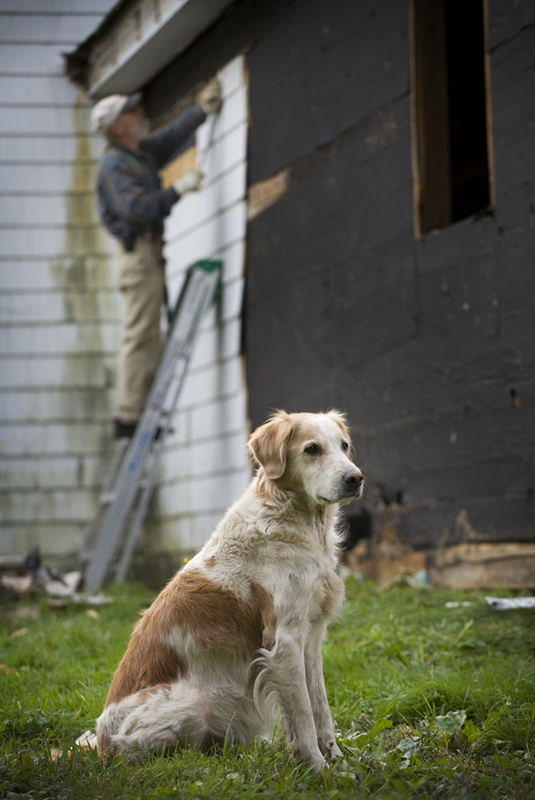 19a - Scot Hanning pulling cedar shingles off -
one by one - while his dog "Piper" patiently waits.
19a - Scot Hanning pulling cedar shingles off -
one by one - while his dog "Piper" patiently waits.
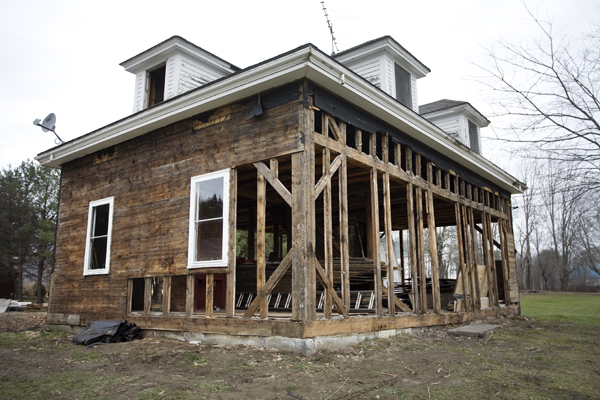 20 - Skeleton beginning to appear.
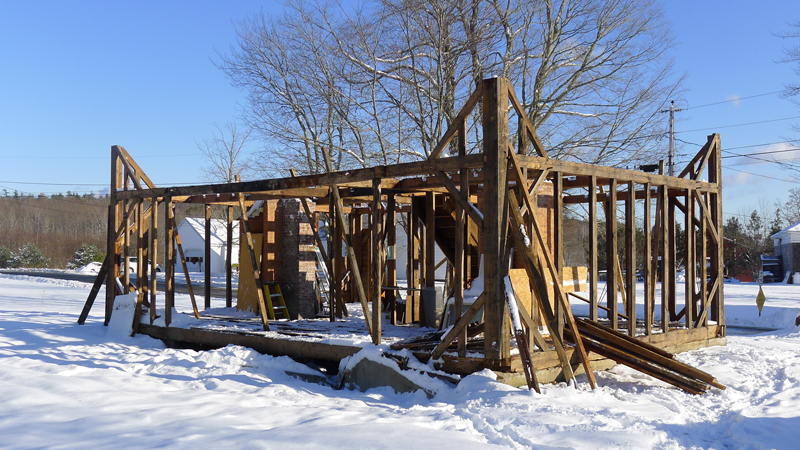
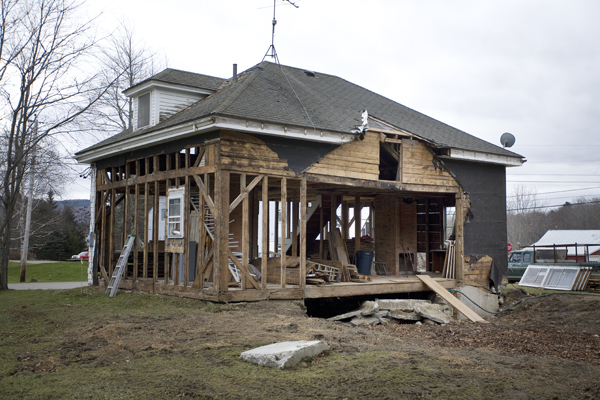 21 - Skelton beginning to appear from back. Cellar
hole was filled in using concrete from slab of garage.
21 - Skelton beginning to appear from back. Cellar
hole was filled in using concrete from slab of garage.
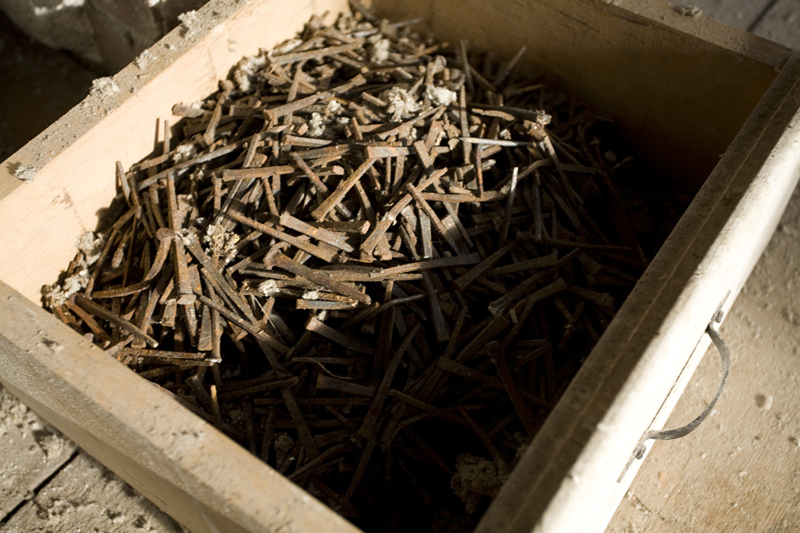 22 - Nails, nails, more nails. All saved for salvage.
 23a - How can you not like Hope, Maine?
 25 - Scot Hanning working on deconstructing roof.
 26 - Roof now off.
 27 - Scot Hanning - one nail at a time.
 28a - The frame just before the final floor comes
down.
28a - The frame just before the final floor comes
down.
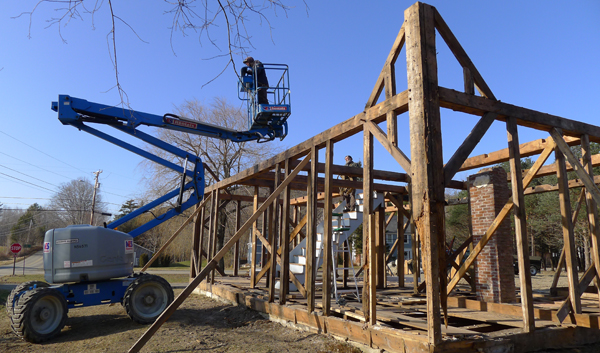 29 - First floor beams carefully being removed.
The man operating the lift
29 - First floor beams carefully being removed.
The man operating the lift
turned out to be Wade Sweetland's cousin's great great grandson.
 30 - More of frame being lifted for winter storage.
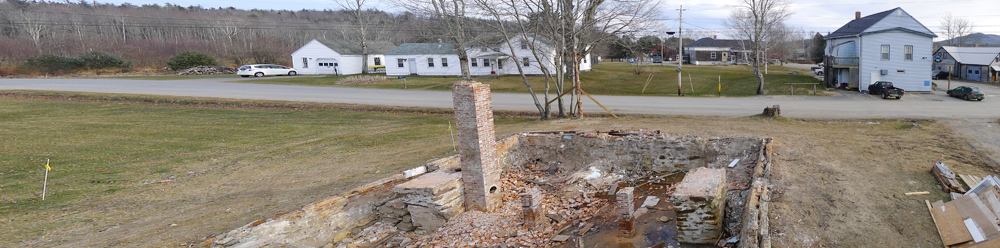 31 - The cellar hole just before we began pulling
the foundation stones out to save for future landscaping.
31 - The cellar hole just before we began pulling
the foundation stones out to save for future landscaping.
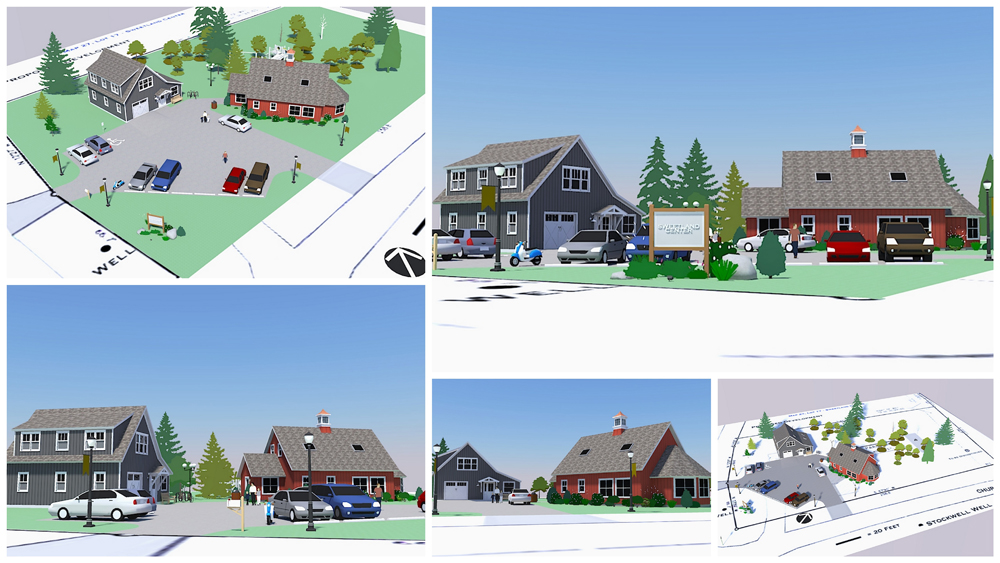 32a - Rendering of what the new buildings will
look like on the lot.
32a - Rendering of what the new buildings will
look like on the lot.
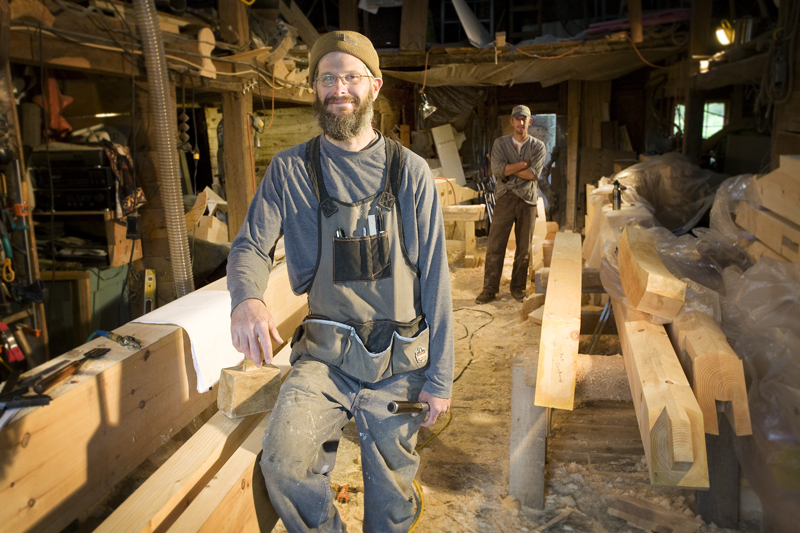 33 - Pat Finlay and Jason Glick working diligently
on a new timber frame which would be the future of
33 - Pat Finlay and Jason Glick working diligently
on a new timber frame which would be the future of
one of our buildings. This frame built in the barn of the old farmhouse
on corner of 105 and Bull Hill.
 34 - Site prep begins for new building. Both buildings
will be on super insulated slabs. All conduits need to be buried prior
34 - Site prep begins for new building. Both buildings
will be on super insulated slabs. All conduits need to be buried prior
to. Here, we're burying - and insulating both a water line and heat feed
and return lines. One boiler will heat both buildings.
 35 - Alex Ludwig looks on as the 1500 gallon septic
tank is lowered into its new home.
35 - Alex Ludwig looks on as the 1500 gallon septic
tank is lowered into its new home.
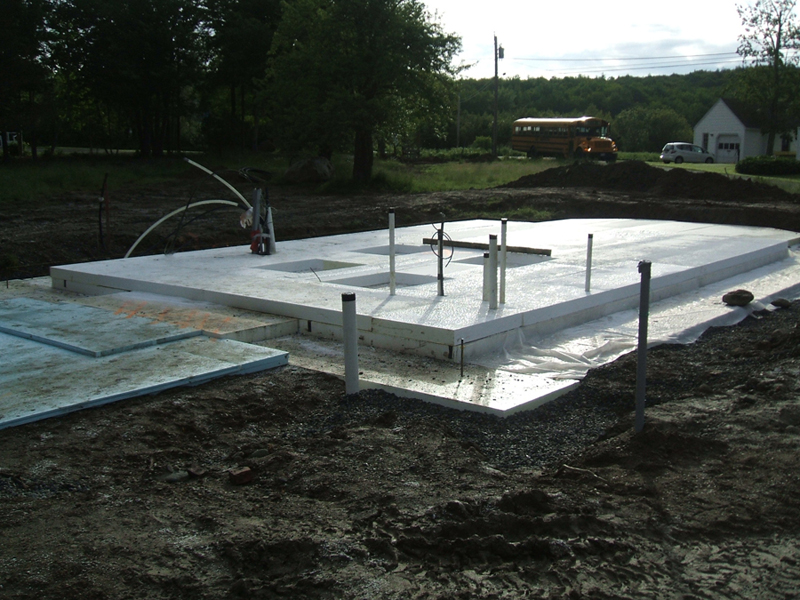
 36 - Super insulated slab in the middle phase of
constructions. The squares in the middle will be
36 - Super insulated slab in the middle phase of
constructions. The squares in the middle will be
areas where more concrete and rebar are poured for timber post placement
load areas. The white
perimeter are the "wings" for frost prevention. The yellow string
shows the outside of the final slab.
 37 - The 6" EPS Geofoam finalized awaiting
for slab prep and pour.
37 - The 6" EPS Geofoam finalized awaiting
for slab prep and pour.
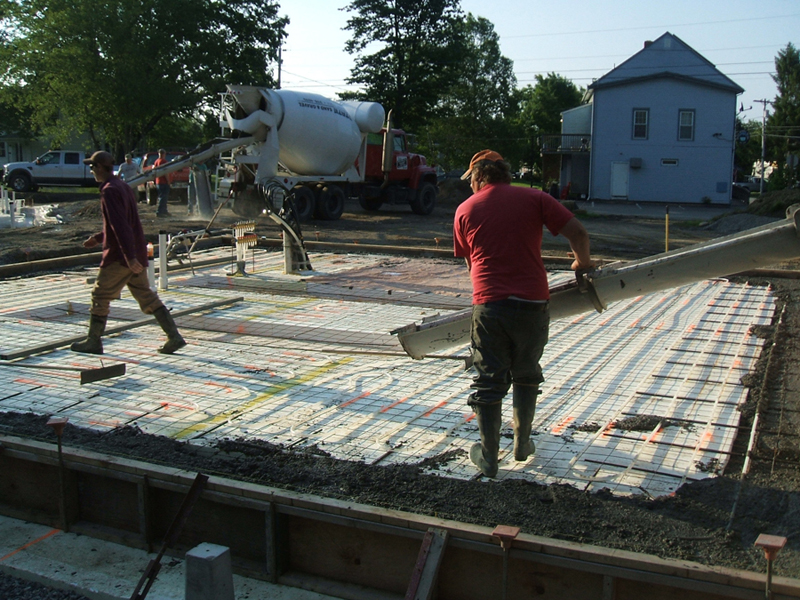 38a - Pouring slab - note pex tuning for radiant
heat floor.
38a - Pouring slab - note pex tuning for radiant
heat floor.
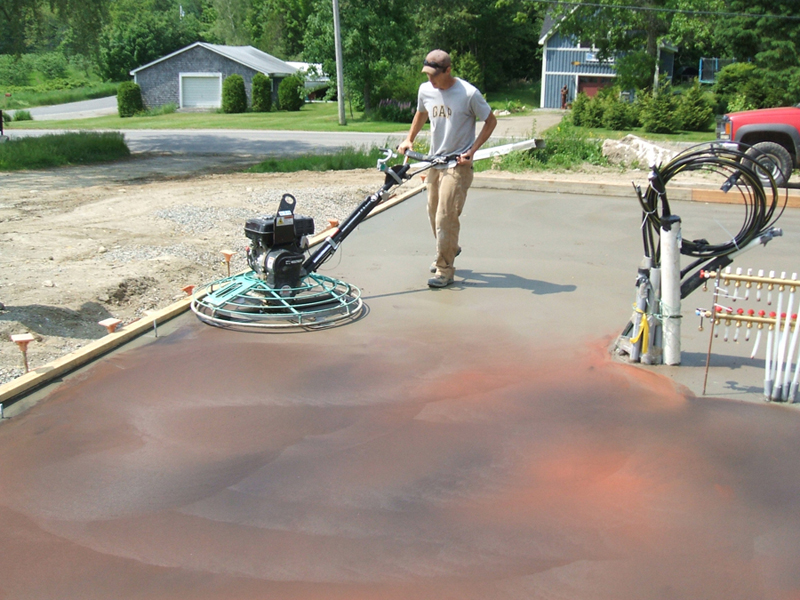 39aa - Final trowel. We added some dye on the final
trowel for some added color to finished floor.
39aa - Final trowel. We added some dye on the final
trowel for some added color to finished floor.
 39aaa - Final pour - this shows the foam "frost
wings" extending from slab.
39aaa - Final pour - this shows the foam "frost
wings" extending from slab.
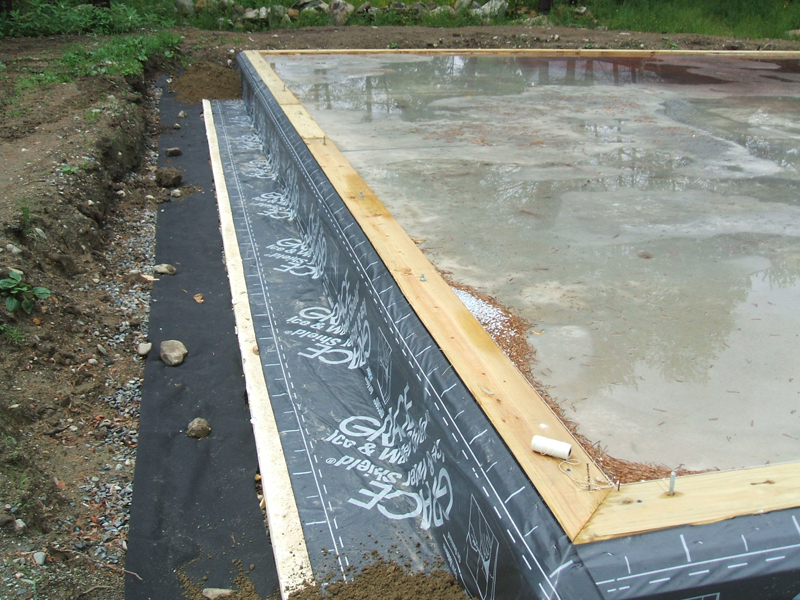 40a - 4 inches of blueboard with joints staggered
are placed vertically along slab and this is covered
40a - 4 inches of blueboard with joints staggered
are placed vertically along slab and this is covered
with Ice and Water shield for water protection and no thermal bridging from
outsides of slab. Filter fabric
over perimeter drain. Pressure treated plate also prepared here awaiting
SIPS.
 41a - Alex Ludwig preparing septic field.
 42a - Warren Haskell welding well casing extension.
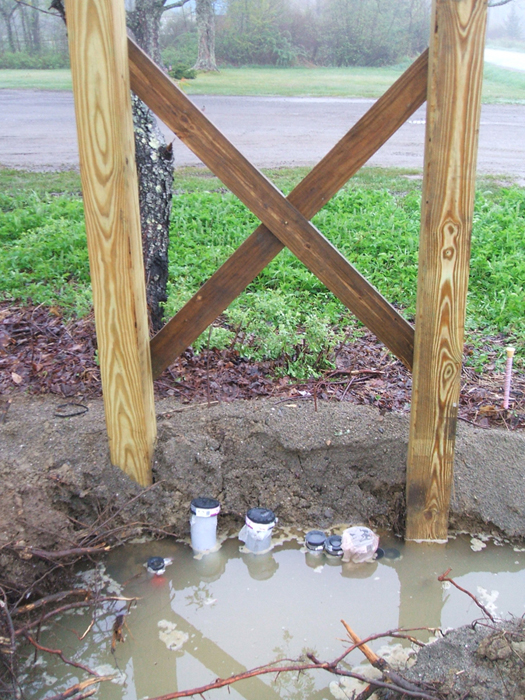 43a - Utilities pedestal. We dealt with water and
more water and then some more all spring.
43a - Utilities pedestal. We dealt with water and
more water and then some more all spring.
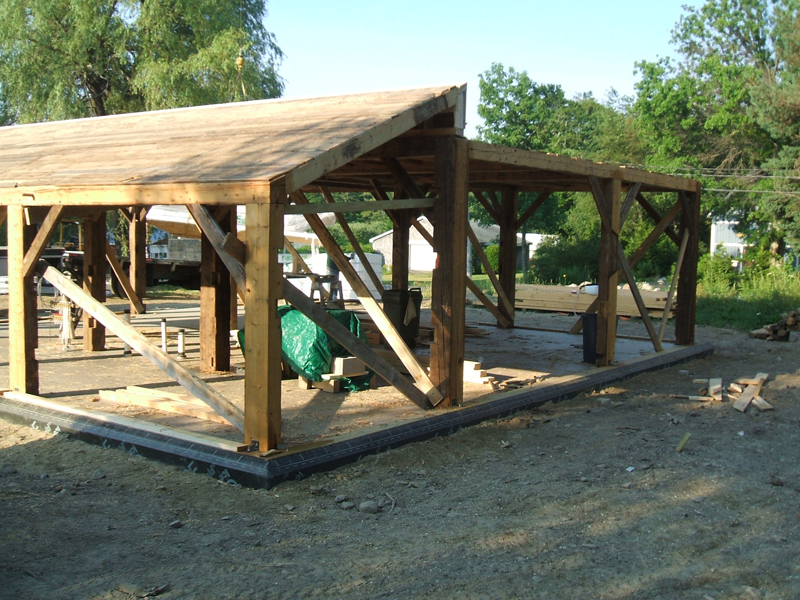 44a - The original frame re-constructed with new
shed roof.
44a - The original frame re-constructed with new
shed roof.
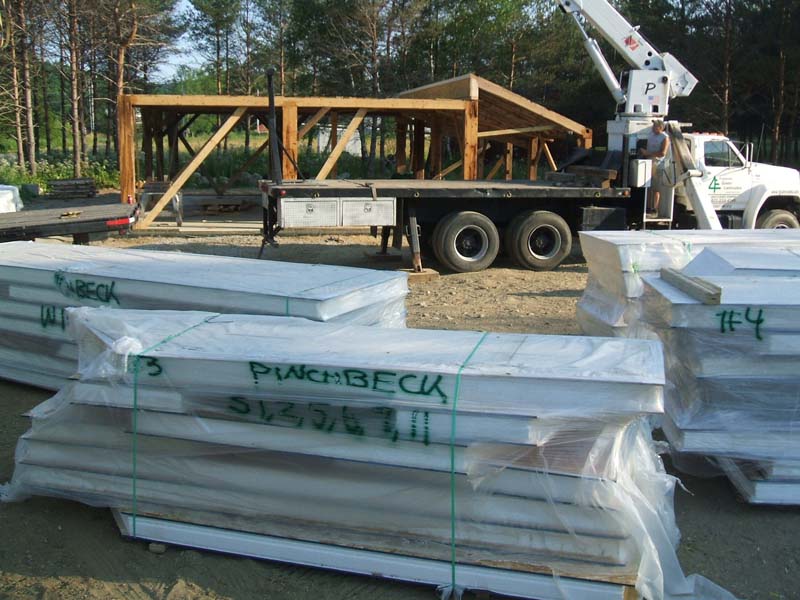 45a - SIPS panels being delivered. Structural Insulated
Panels.
45a - SIPS panels being delivered. Structural Insulated
Panels.
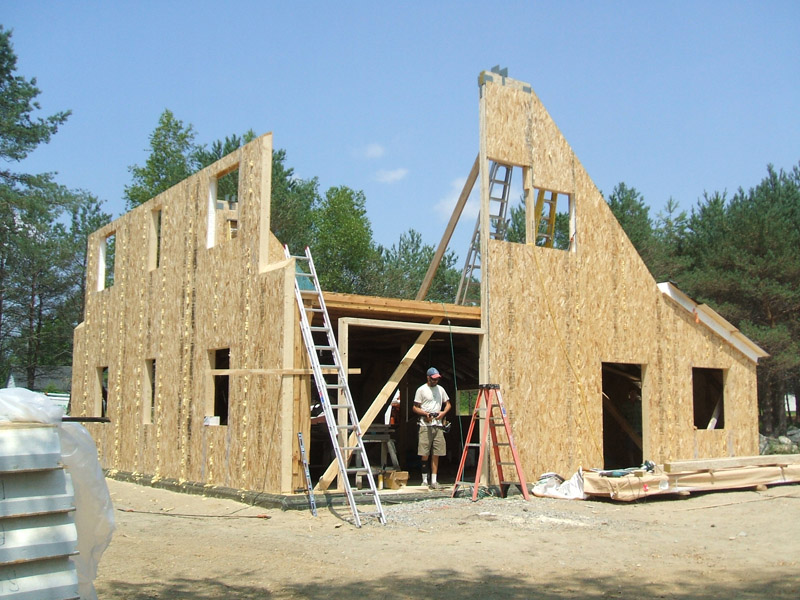 46 - Sips panels being put up around timber frame.
This building too 50 hours to erect.
46 - Sips panels being put up around timber frame.
This building too 50 hours to erect.
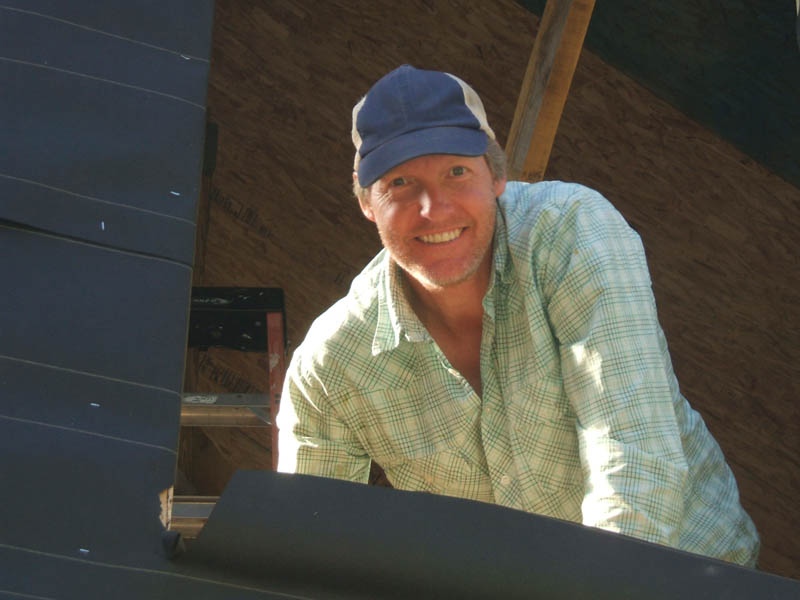 47 - Mike Williams - my right hand man plugging
along.
47 - Mike Williams - my right hand man plugging
along.
 48 - The completed SIP structure.
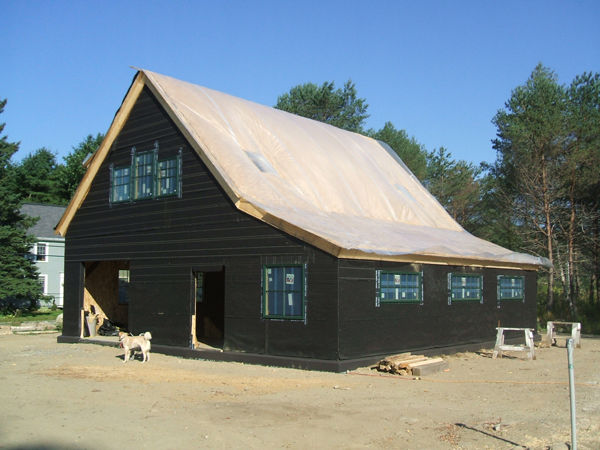 49a - The building finally covered. Tar paper??
Yes, it breathes and allow vapor
49a - The building finally covered. Tar paper??
Yes, it breathes and allow vapor
to pass and dry from inside to out more readily than other house wraps.
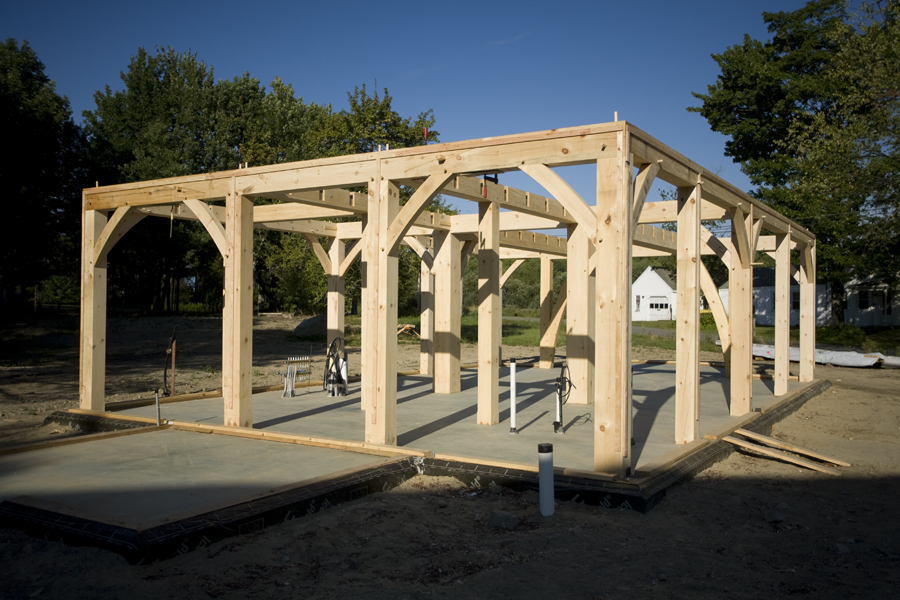 50 - The new timber frame for building #2 being
erected.
50 - The new timber frame for building #2 being
erected.
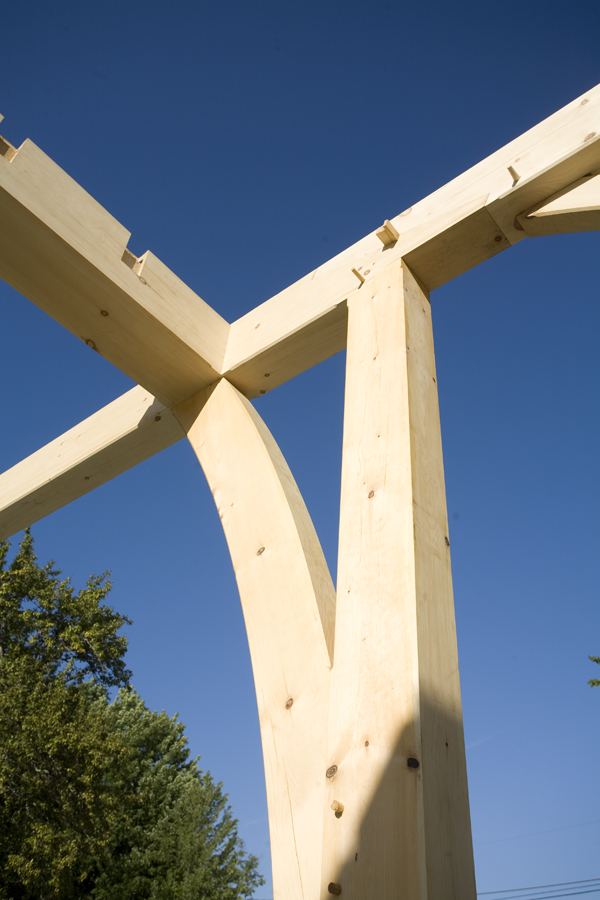 51 - Some joinery detail.
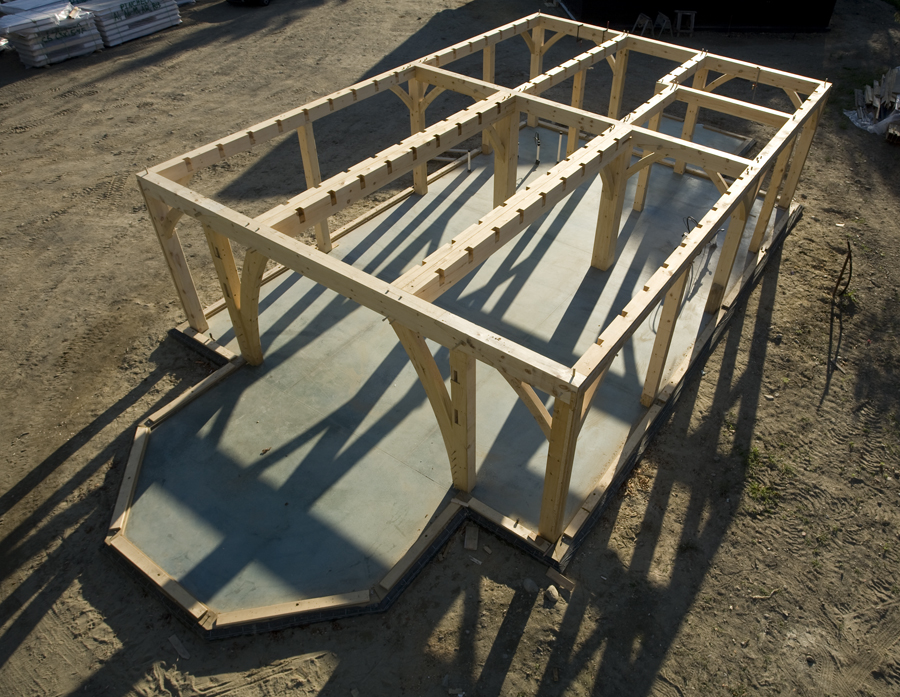 52 - New frame from air without joists.
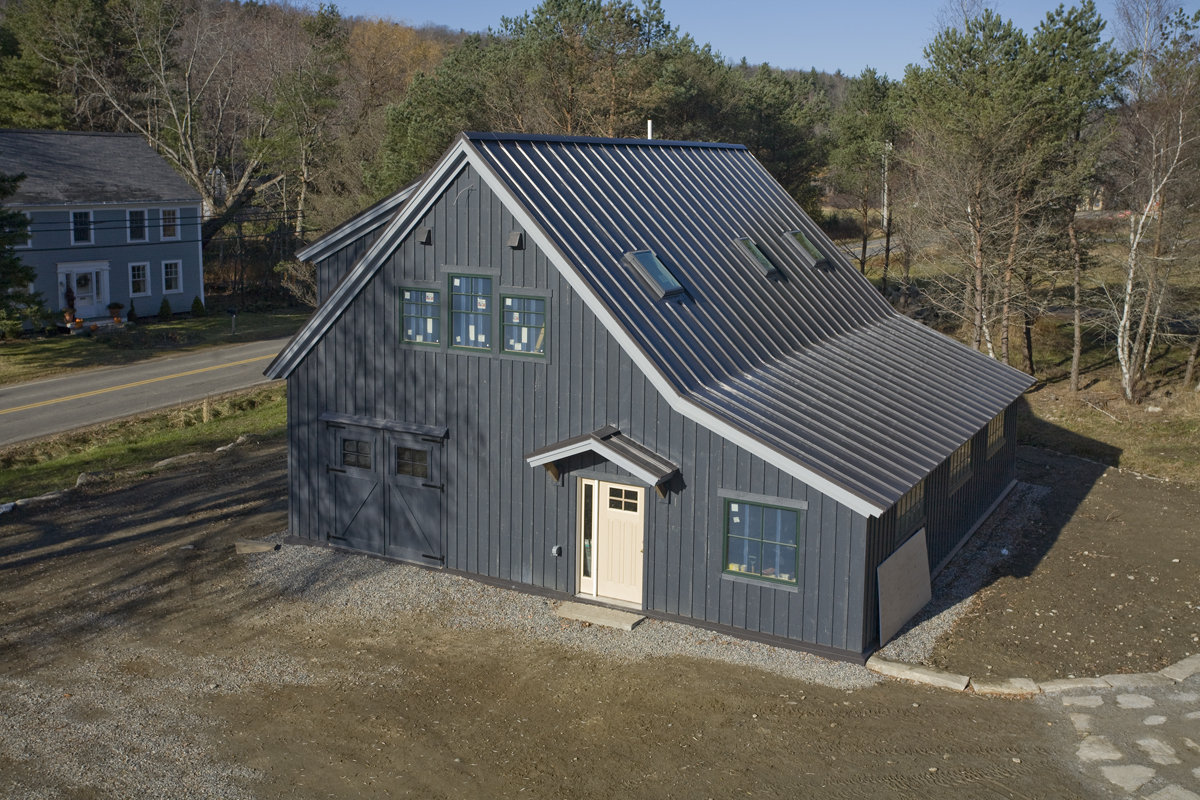
 53 - Workshop (the building with antique frame)
with windows installed
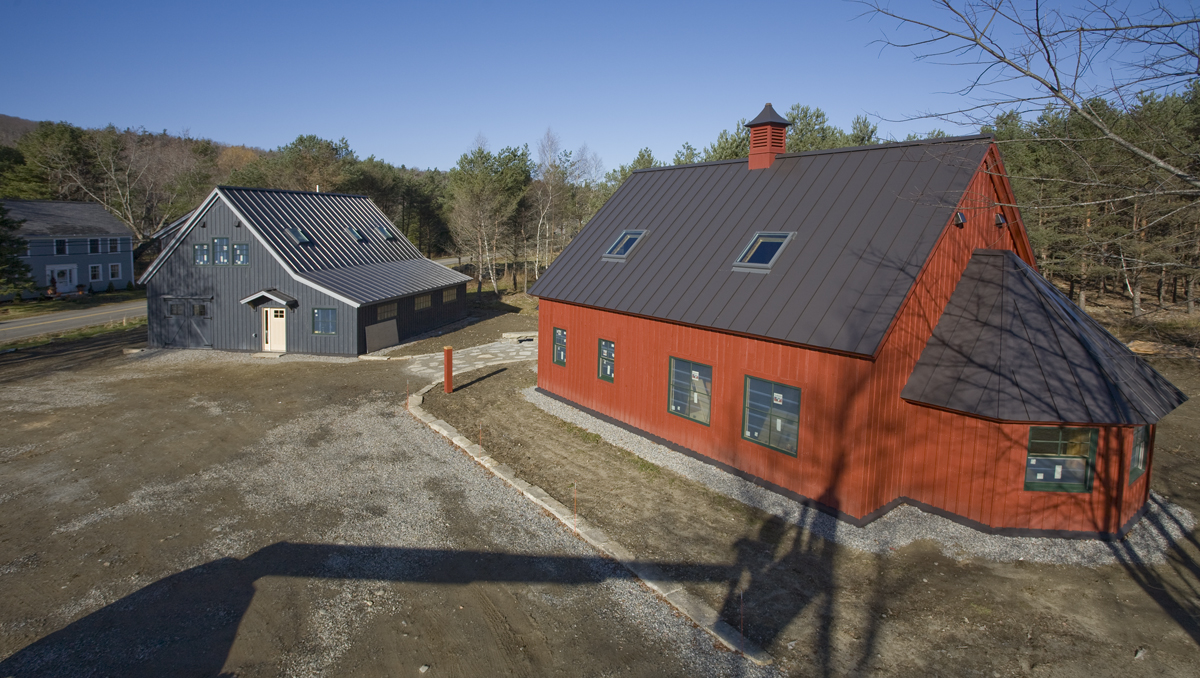
The following three pictures are of the completed
project.
53 - Workshop (the building with antique frame)
with windows installed
The following three pictures are of the completed
project.

 return
.